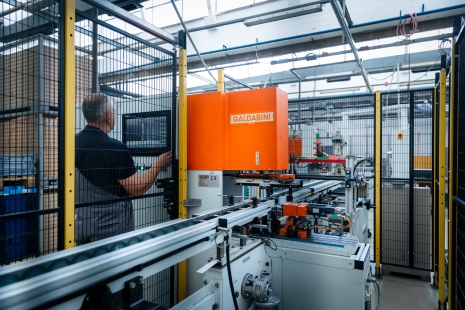
Centreless through grind up to ø20mm x 300mmMachines: TOS, MULTIMAT Highest productivity Centreless form grind up to ø12mm x 150mmMachines: CNC grinding machine MIKROSA – fully automated cell with 100% control before and after grinding, degreasing and manipulation Quantity: Large volumes 100% control Center - form grind up to Ø40mm x 300mmMachines; KIKINDA 300, KIKINDA 500, KIKINDA 600, KIKINDA 700 100% control Validated sub-suppliers for small volumes, investments in case of large volume |
 |
Control and measuring
During the production process, our employees perform process measurements in our measuring cells, in accordance with the control plans, thus ensuring the quality of the manufactured items. For most of our high-volume products, we provide 100% control on our optical devices, which we adapt to our products and needs. Laser and vision-based sorting machines are important for our business, so we invest in those on a yearly basis.
Products that cannot be inspected optically or the quantity is too small to invest in a control device are inspected manually. We also inspect items for which the visual appearance is important or could be damaged during the production process manually.
Our quality department prepares measurement reports, PPAP documentation and other reports at the request of our customers. We manage non-compliances with 8D reports and action plans and make sure that errors do not recur.
We are able to offer the purity analyses in our laboratory. Purity requirements in relation to components are increasing in order to minimise the risk of breakdowns or reduced efficiency.
Our products are controlled with:
- Contour
- Roughness measurement device MarSurf
- Laser measuring of diameters
- Measuring device for measuring all geometry tolerances MAHR (straightness, cylindricity, flatness, parallelism, roundness, cylindricity, run-out, coaxiality, conicity) with motor-driven CNC centring, tilting table and tailstock option
- Micro-meters


